This week in the garden I found out I like bee butts and I cannot lie
Zone 5b garden update for the week – 9/20/2021
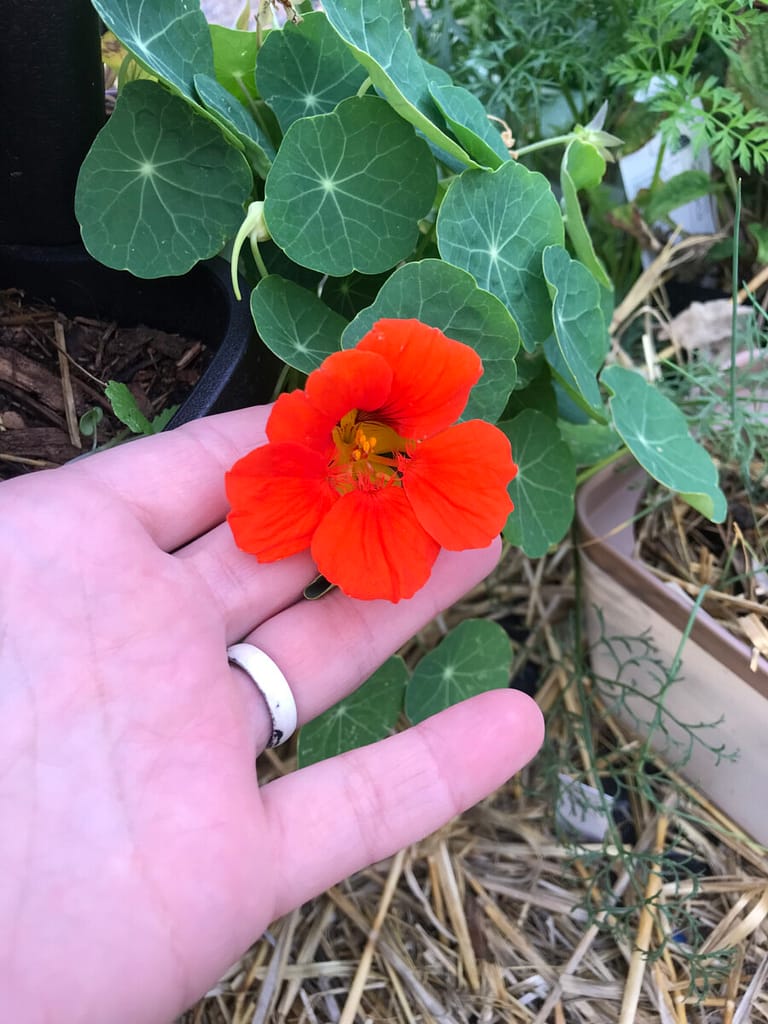
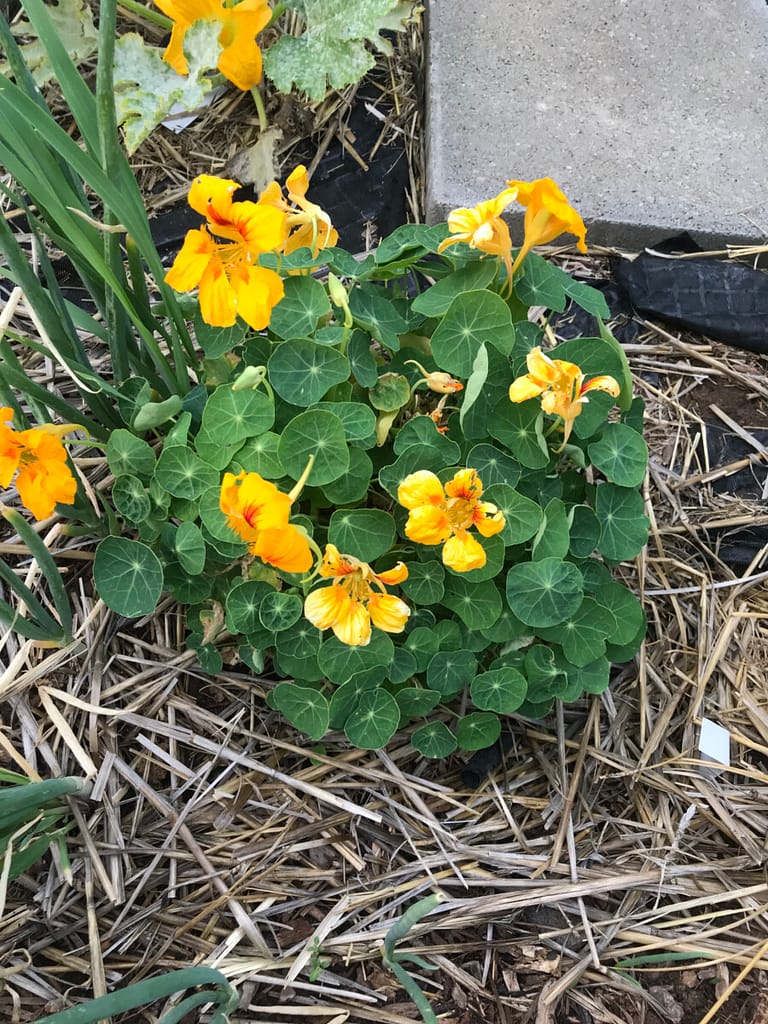
Even though the 2021 gardening season is wrapping up in zone 5b with our first frost just weeks away, I am still excited to share my garden updates for the week, including my beautiful nasturtium flowers.
- My kale continues to grow fast, full, and with minimal holes
- The nasturtium leaves have gotten larger over the summer, they are now about the size of a half dollar! I will be growing this again next year. I love harvesting this for the peppery flavor! The flowers are also edible and add a nice pop of color to my garden.
- Mr. Stacky update – the experiment is underway with root vegetables. I’m not sure how they will grow in these but I think they should work!
- Removed my bicycle basket from my Brussels sprouts a friend of mine has Brussels sprouts coming in and now I’m wondering if the basket stunted the growth
Check Out These Beautiful Nasturtium Flowers
The highlight of my week was seeing the bee butt
Anonymous
Cute Bee Butt
In addition to my garden updates this week, I wanted to share this cute bee butt. Bees are very beneficial to the garden – they help with pollinating the flowers of zucchini, tomatoes, etc. We need bees in the garden to help pollinate as the alternative is to pollinate by hand.
Quick Recipe For Drying Greens Like Nasturtium
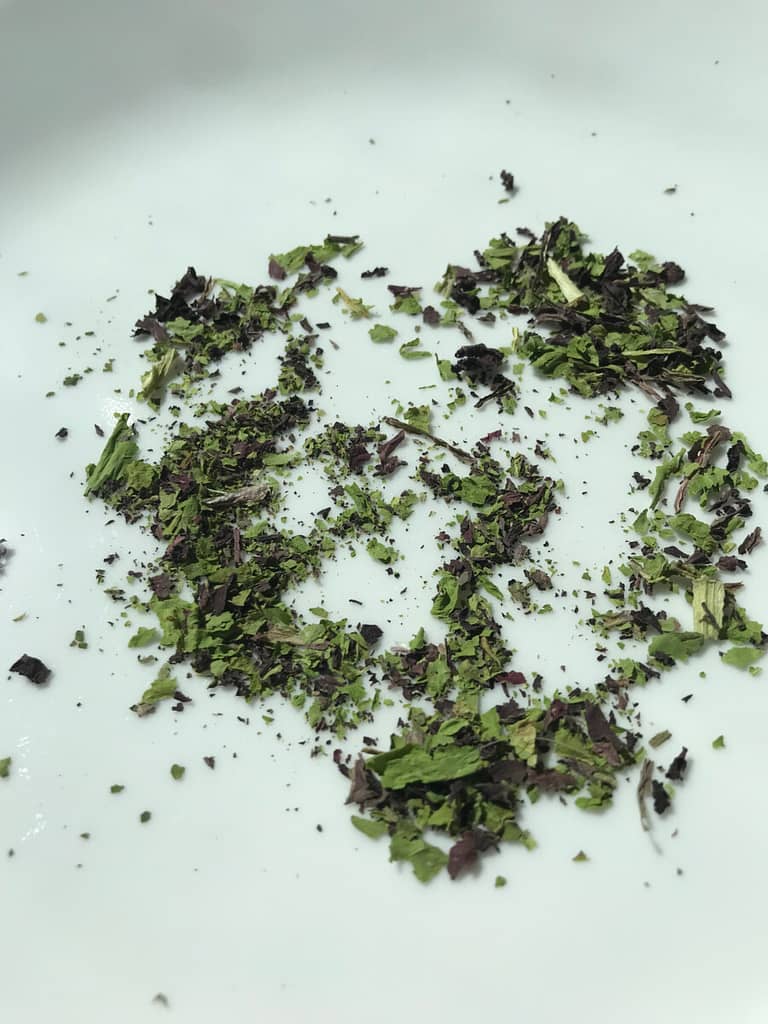
Because of my great kale, lettuce & nasturtium growth, I’ve been able to dehydrate each of these for use later. Dehydrating greens for later use is a wonderful way to store the hard work from summer. Drying greens is easy, but will take time. Depending on if you’d like to “keep the color” of the greens or not, you will decide which method to use – oven or dehydrator. Whichever method you use, I would recommend getting some desiccants that you can place in your dried greens.
- Oven method
- 170 degrees for 1.5 hours – will not hold the color – they will be a dark green vs the vibrant green color you started with
- Dehydrator method
- 90 degrees for 12+ hours – start testing around 10 hours for dryness, and then check hourly – this will keep the vibrant colors but will take a long time
Final Thoughts On Drying Greens & Nasturtium
With either method – oven or dehydrator – you will want to let the dried greens rest in your container overnight (without a desiccant) to ensure dryness. If you see moisture, you will need to place the dried greens back in the oven or dehydrator until dry. You do not want to store greens that are not 100% dry as they will mold.
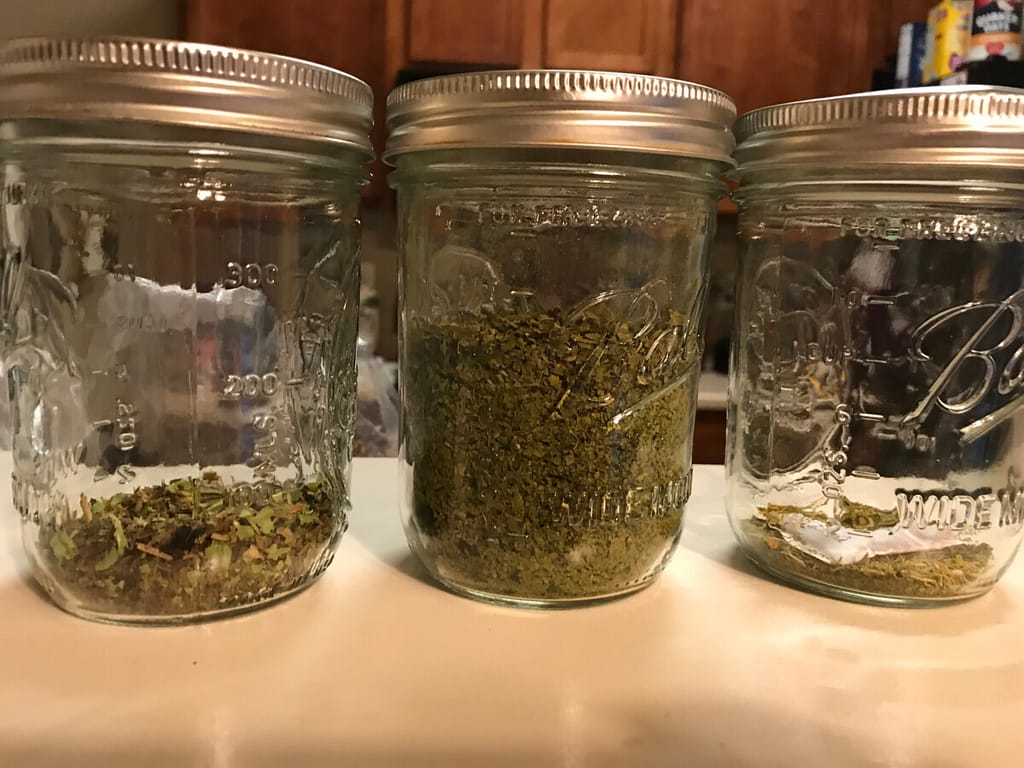
Once you confirm the greens are 100% dry, drop the desiccant in the container and store it in a dark place. The desiccant will ensure any moisture will be absorbed. After that, I prefer to keep my dried goods in these Ball canning jars. The 8oz size is a little large for what I dried, but that is what I had on hand. The best part of drying greens is that One teaspoon of the dried greens is equal to 1 handful of fresh greens. You can do the same process for nasturtium flowers, leaves & stems!
Uses for dried greens
I originally set out to make a “green powder” that would be a replacement for my current green powder. However, not all of my greens grew that I wanted. I will try again next year.
In the meantime, I plan on using the dried greens:
- Oatmeal
- Smoothies
- Salads
- Pesto
- Sauces
- Soups
- Anywhere else I want an extra serving of greens!
Follow me on social media and be the first to know when posts are live!
Following me on social sites is the easiest/fastest way to not miss a post! You can follow me on all social media, or the site(s) that are your favorite to use.

