Vegan Kimchi
Equipment
- 1 Mandoline optional, but makes this so much easier
- 1 Wide Mouth 32 Ounce Jar may need 2
- 1 Fermenting Airlock Lid optional, can use the lid and band that comes with the jar, but you'll need to burb it daily
- 1 Wide Mouth Glass Fermentation Weight can make your own, see notes in recipe
- 1 Pickle Packer optional, can use a wooden spoon
- 1 Wide Mouth Canning Funnel optional, but makes getting ingredients into jar easy!
Ingredients
- ¼ Head Cabbage Chopped, Outer 2-3 leaves Reserved
- 1 Bok Choy Chopped
- ¼ Onion Chopped
- ¼ Cup Radish Any Variety
- ¼ Cup Carrots Shredded
- 1 Teaspoon Redmans Salt Or Another Sea Salt, Must Be Sea Salt
- 3 Cloves Garlic Chopped
- ¼ Inch Ginger Chopped
- ½ Tablespoon Red Pepper Flake
Instructions
Prep Cabbage
- First, remove the outer 2-3 leaves from the cabbage and set aside. We'll use those later.
- Chop cabbage and get it into the bowl and add salt, mix it together. This will allow the salt to start pulling out the water from the cabbage while you continue to work on the remaining ingredients.¼ Head Cabbage, 1 Teaspoon Redmans Salt
Prep Remaining Veggies
- Continue to chop or shred the remaining ingredients. Adding to the cabbage and mixing together.1 Bok Choy, ¼ Onion, ¼ Cup Radish, ¼ Cup Carrots, 3 Cloves Garlic, ¼ Inch Ginger, ½ Tablespoon Red Pepper Flake
Time To Pound
- Using a pickle packer or a wooden spoon, pound the ingredients. The goal is to reduce them by about half.
Add Mixture To Jars
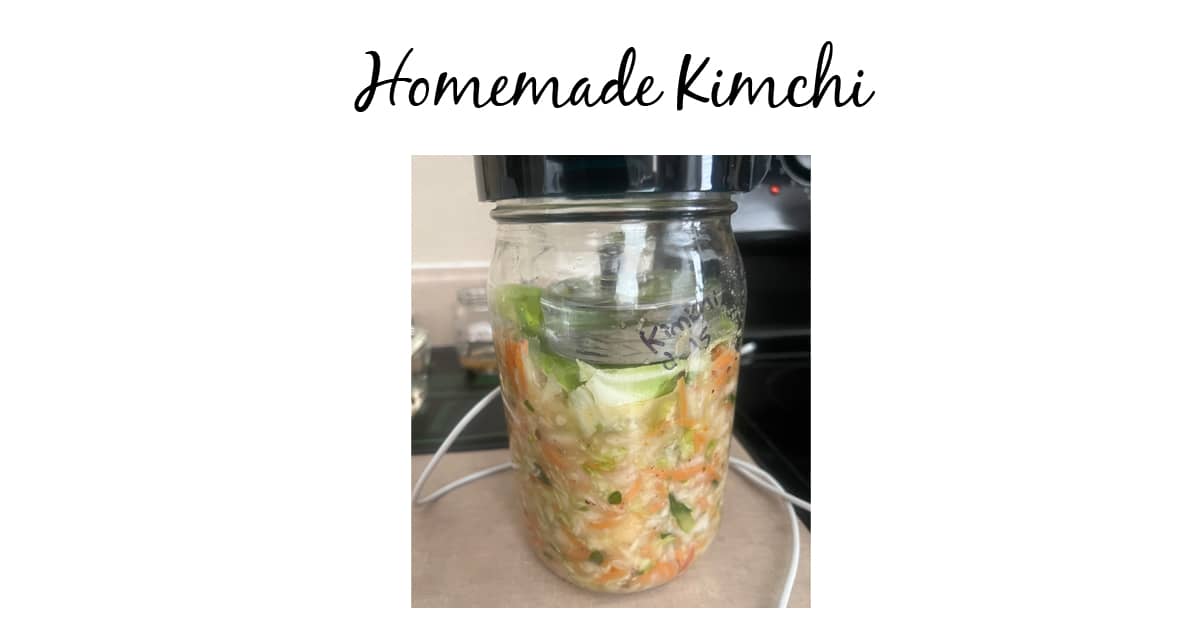
- Using your canning funnel, add ingredients to your jar(s). I prefer to add about 2", pound, then add more and repeat. I typically leave 2-3" of space between the veggies and top of jar.
Prep Jar For Fermentation
- Once your mixture is 2-3" from the top, place your cabbage leave(s) to cover the veggies. The goal is to keep everything under these leaves. Wipe the inside if your jar with a paper towel if you see any small bits that aren't under the leaf.
- Place your glass weight on top, and add your fermentation lid.
Place Jar At Room Temperature
- Keep the jar somewhere so that you can see it. 12 hours after adding your fermentation lid you should check to make sure all ingredients are in the juice. If not, you'll need to add a mixture of salt and water to get all ingredients in juice.
- Once you've checked that all ingredients are under the juice, allow the jar to sit for at least 7 days.
Checking After 7 Days
- With a clean fork, open the jar and taste your kimchi. If it's how you like it, go ahead and place it in the fridge. I recommend leaving the fermentation lid on while in the fridge as the fermentation process will slow, but not stop once in the fridge. If it's not quite right for your taste, allow it to sit for another few days and continue to check it until you are happy with the taste. Do not double-dip your tasting fork in the kimchi.
The nutrition facts provided on this site are only an estimate and are provided for convenience and as a courtesy only. The accuracy of the nutrition facts for any recipe on this site is not guaranteed. It should not be used as a substitute for a professional nutritionist’s advice.
Video
Angie’s Notes
- It’s important to ensure you use the correct amount of sea salt and that all ingredients are under the juice. If you find that your ingredients aren’t all under the juice, use a mixture of (4) cups of bottled water and 3 Tablespoons of Sea Salt.
- No glass weight? No problem! Simply mix (4) cups bottled water and 3 Tablespoons of Sea Salt together and fill a small zip-lock bag about 1/4 of the way and see if you can get that into the jar and if it helps weigh it down. You may need to add more liquid, but this should get you going. Using this ratio will ensure that in case the bag leaks, the salt-to-water ratio is correct and won’t impact your ferment!
- Don’t have a fermentation lid? You can make this recipe by using the lid and ring that came with the jar. You’ll need to check your ferment daily and open the lid and close it – known as burping.
Like This Kimchi Recipe? Share It or Subscribe via email!
Why I Love Fermented Kimchi
To start, kimchi is a great source of vitamins as well as probiotics. People who suffer from gut issues may find eating kimchi to be very beneficial. Furthermore, kimchi is ridiculously expensive, and can be made easily, and cheaper, at home!
My recipe was adapted from Attainable Sustainable by Kris Bordessa. If you don’t already own this book, I seriously recommend getting it. This book is full of easy things you can do to make yourself more self-sustainable.
Angie’s Top Tips For Kimchi
Tip # 1 – Use Sea Salt – this is important for the brine and how quickly the salt dissolves. Sea salt dissolves gradually compared to regular table salt.
Tip # 2 – What To Do If You Don’t Have A Glass Weight – simply make a mixture of 4 cups bottled water and 3 Tablespoons Sea Salt. Mix well and pour into a small zip lock bag. You’ll need to play with the amount of water in order to both weigh down the ingredients and fit the bag into the jar. This mixture of bottled water to salt will ensure that if the bag breaks, you won’t impact your ferment. I suppose you could also fill a bag with marbles and use that, just be sure the marbles are clean in case the bag rips.
Additional Kimchi Tips
Tip # 3 – No Fermentation Lid – if you don’t have a fermentation lid, don’t sweat it! You’ll have an added step every day to “burp” the jar. Simply unscrew the ring, lift the lid, and then replace the lid & ring. This allows any gasses to escape. I leave my fermentation lid on even while in the fridge and recommend continuing to burp your container until you’ve eaten more than half of the kimchi in the jar.
Tip # 4 – To Buy Tools Or To Not Buy Tools – you’ll notice my recipe contains many “optional” pieces of equipment. While these tools certainly make fermenting recipes easier, they are not needed if you aren’t sure about how many fermenting recipes you will try.
Hopefully, these tips will help you in your kimchi (and fermenting!) journey.
Make Kimchi Your Own
My first tip for making kimchi your own is if you have a kimchi you enjoy, look at the ingredients! Kimchi can have many different veggies (or fruits!) as well as spices.
Below is a list of suggestions that you may want to try in your kimchi.
- Sub the onion for green onions
- Add fish sauce
- Try purple cabbage, note this may turn your kimchi a funny color
I hope you will try kimchi, and come back next week for my next post in this series. I’ve included a video of how I broke down my veggies.
Subscribe And Be Notified Of Every New Post
Follow Me On Social Media!
Did you find this interesting or useful? You may have noticed my site is ad-free and easier to navigate than most. That’s because I want to provide a better experience when researching gardening or recipes! Please support my site by donating.