
Zone 5b Garden Update For The Month Of June 2021
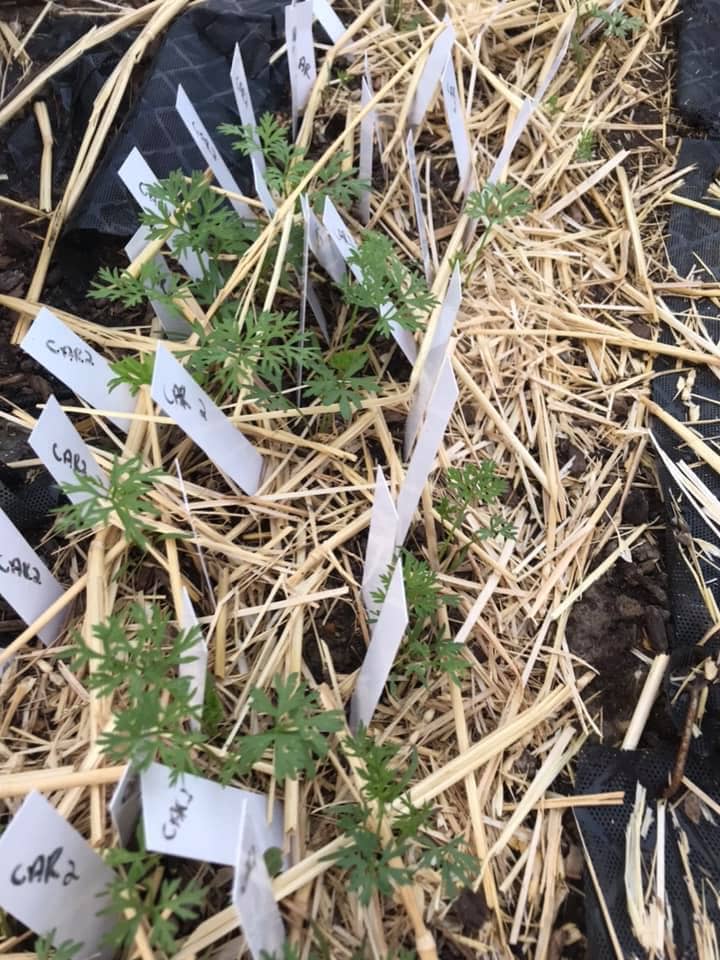
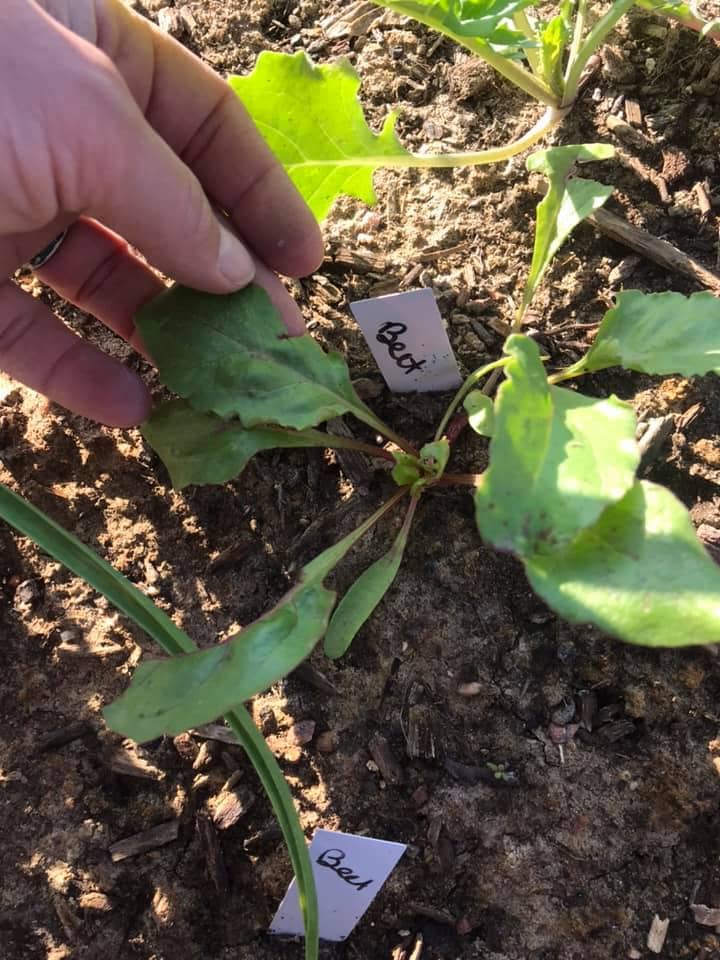
Lot’s growing on this month in the garden. This month I learned the importance of succession planting crops such as carrots, lettuce, and beets. It’s a little late for this year as all my space is filled, but I will save space to do this next year.
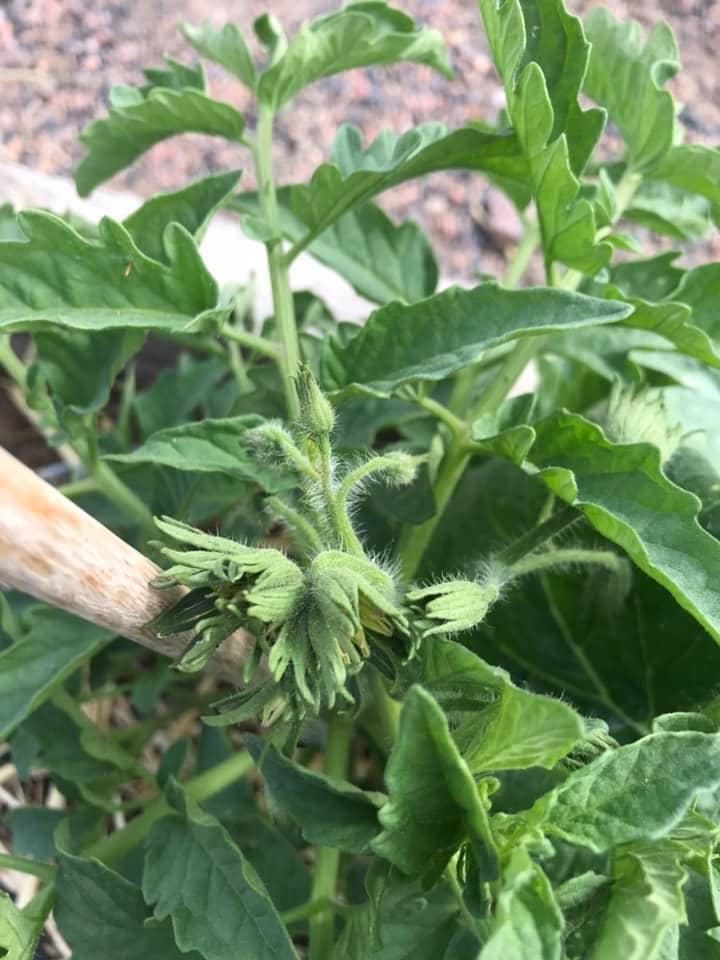
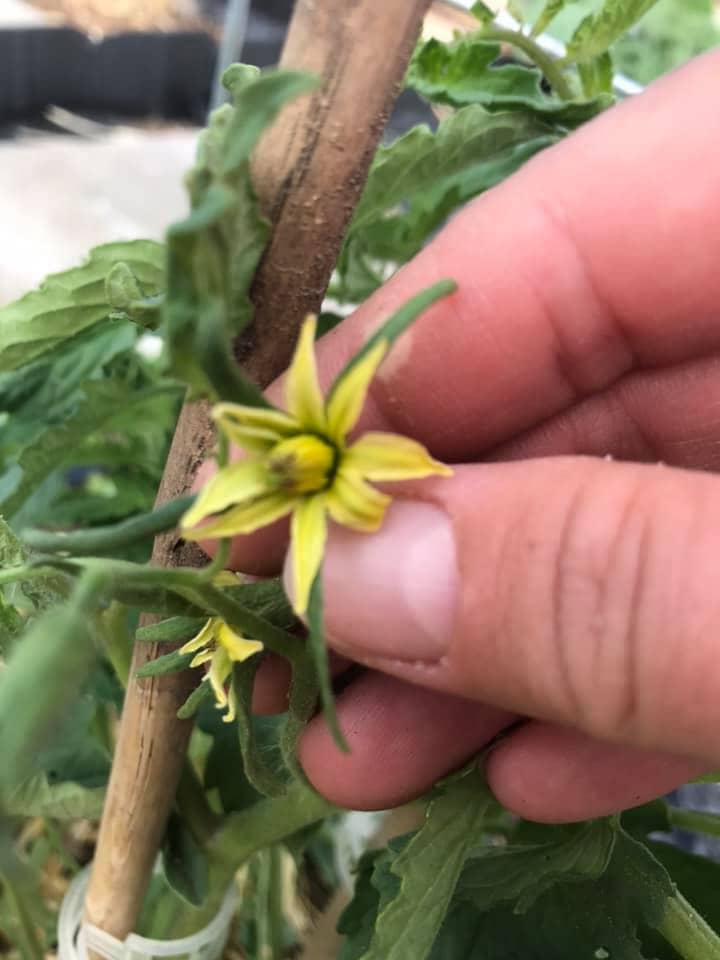
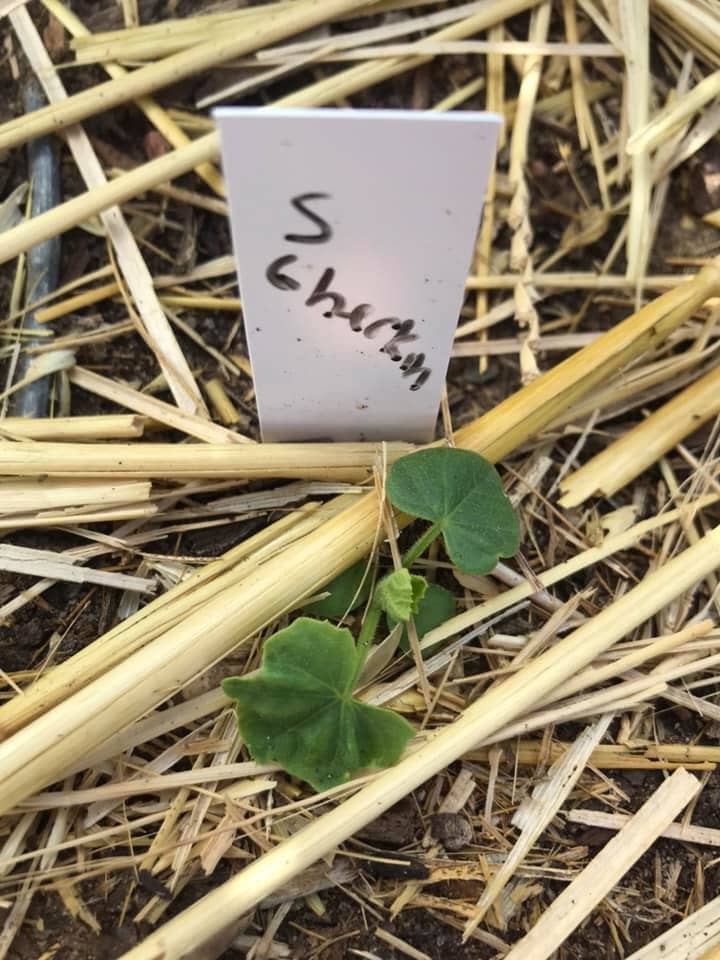
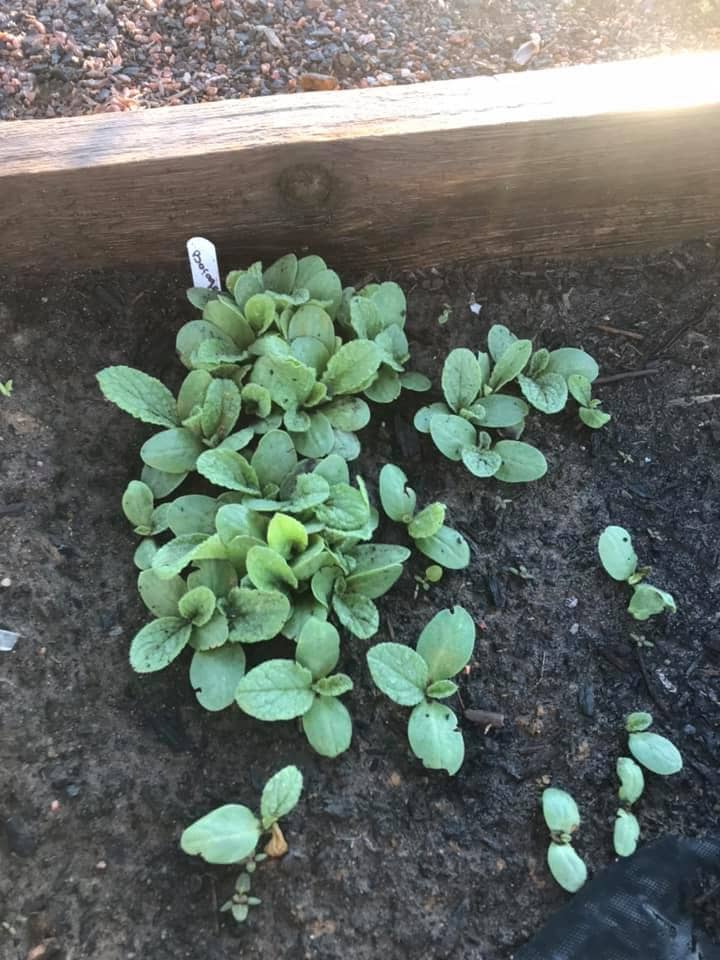
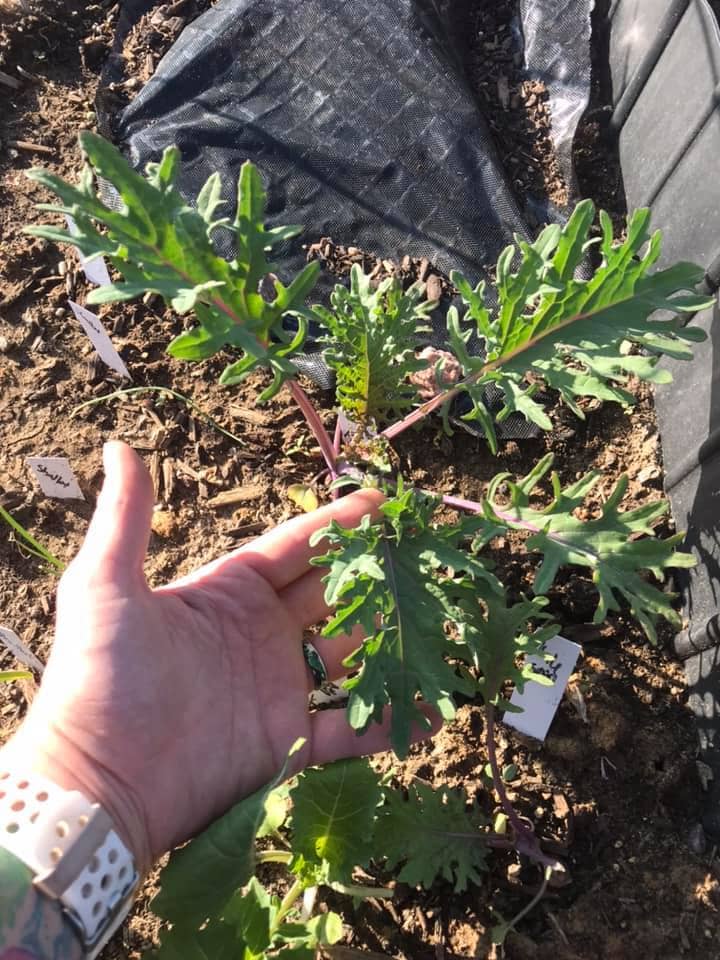
I’m also proud to announce that all my plants are officially in the ground! It’s time for a plants off dance off. Vegetables are sprouting and growing very quickly! To track the growth, I take pictures at least weekly of my plants. Taking photos ensures I can look back and see how far my plants have come since being put in the ground.
In June I put my final touches on my scarecrow head, added hay to my plants and, experimented with growing sprouts. Keep reading to find out about everything I have growing on.

What The Hay?
June 2021 in zone 5B was very hot! We had 5 days of 90+ degree heat in a row the first week in June. Mass panic spread across the local area – particularly I was wondering was all my hard work about to be scorched?
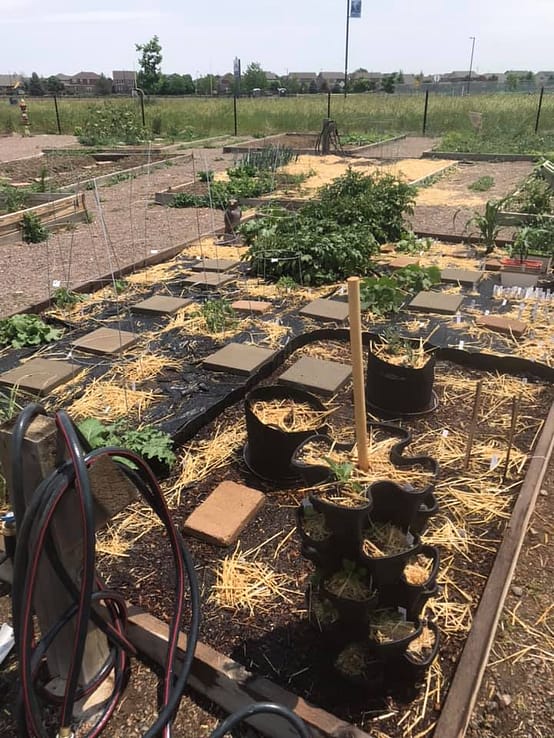
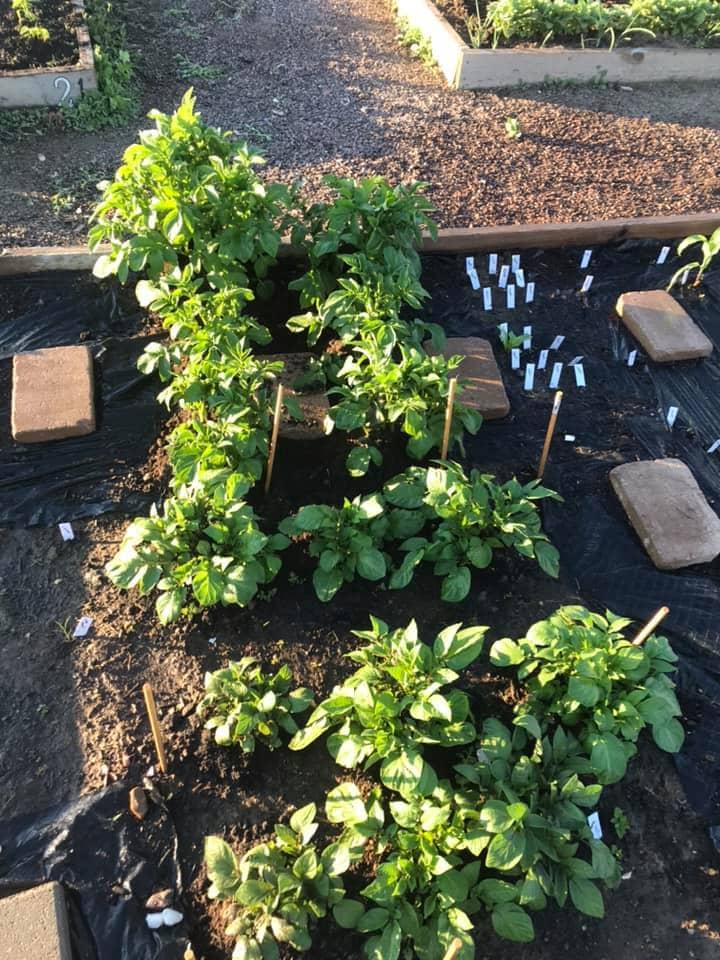
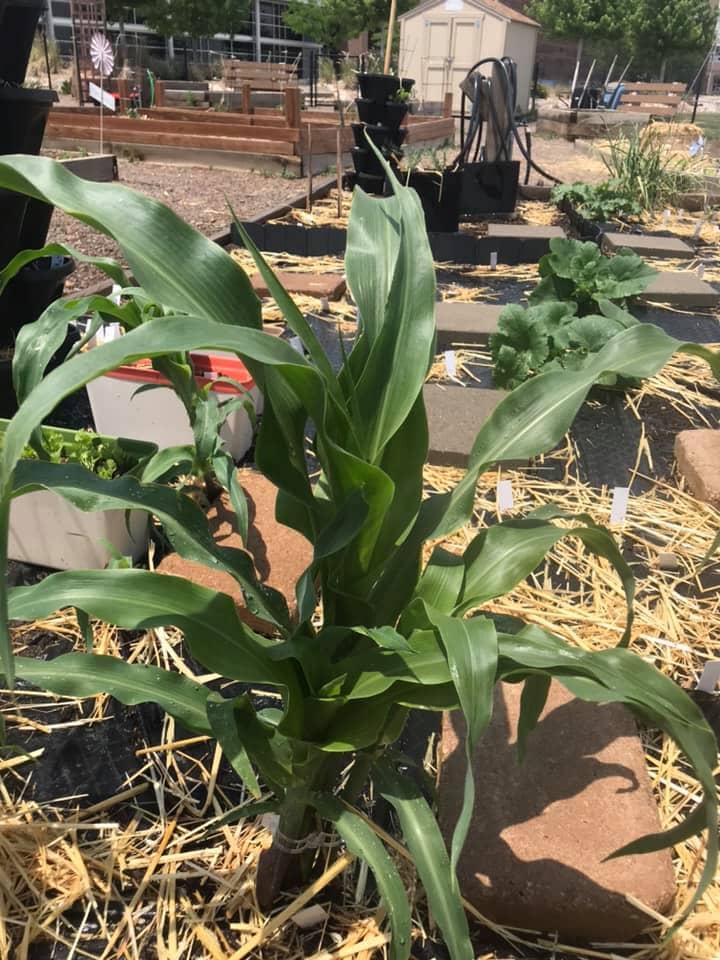
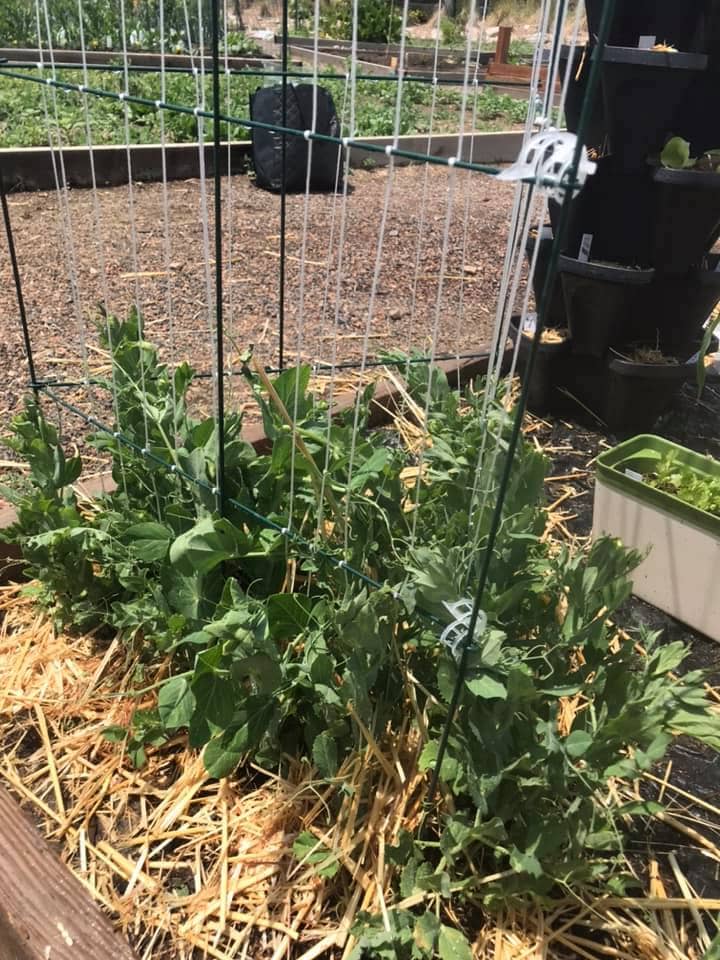
Thankfully, a fellow gardener had some extra hay and was willing to share. I didn’t even know why I was putting hay down honestly, I just saw that she did it, so I did it too.
As it turns out, hay is great for your garden – it helps with weed control, retains moisture, and will eventually compost down enriching your soil. Here’s a wonderful article on the benefits of hay in the garden. I believe the hay saved some of my non-heat tolerant plants such as lettuce.
Building A Scarecrow For The Garden
In contrast to hot temperatures, I started thinking about my fall garden – I know – it’s a little early and the spring season just started. I’m a planner, and more specifically, I like to take things that I learn and apply them as soon as possible. As I talked with fellow gardeners, I learned that some plants are cold tolerant and should be planted in the fall. In particular, plants like lettuce and Brussels sprouts have a better chance of growing in cooler temperatures.
At the same time I was thinking of my fall garden, someone mentioned a scarecrow would help keep animals out of my plot and could be useful later in summer. With this in mind, I thought to myself – I need a scarecrow so all of my hard work doesn’t get eaten before I can harvest!
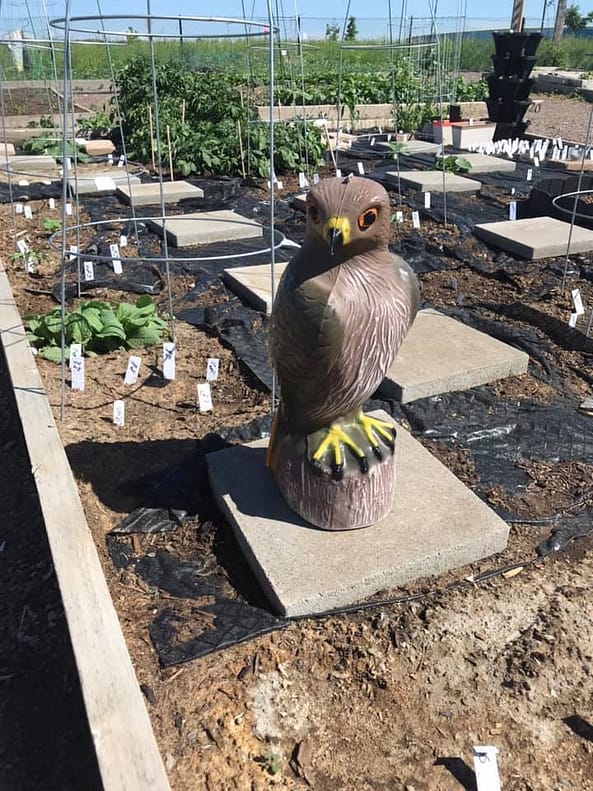
In the meantime, I have this hawk I can keep in the garden to scare off animals.
This month I made a lot of progress on the scarecrow – he now has a head with hair and hat! I still have more work to do, namely on the body, but the scarecrow will be complete shortly.
It’s important to realize how much time and effort goes into a flourishing garden before getting a garden. In fact, that’s partially the reason I started my garden updates.
Not only can you garden outside, but also inside. This month I experimented with growing sprouts – continue reading after the videos for how to grow sprouts (no dirt needed!).
How To Grow Sprouts At Home (No Dirt Needed!)
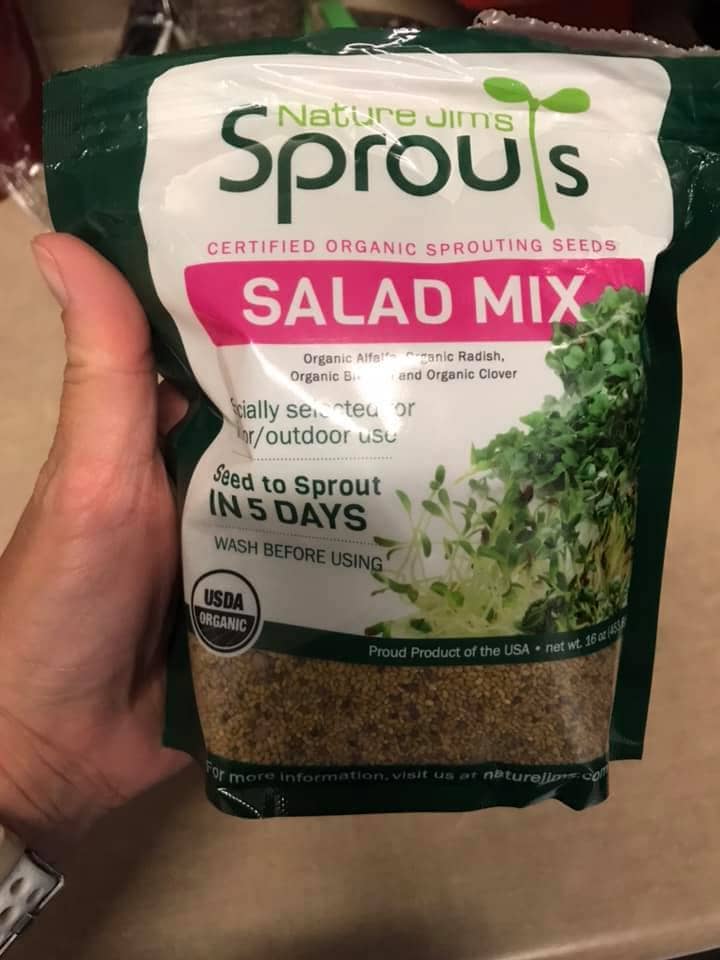
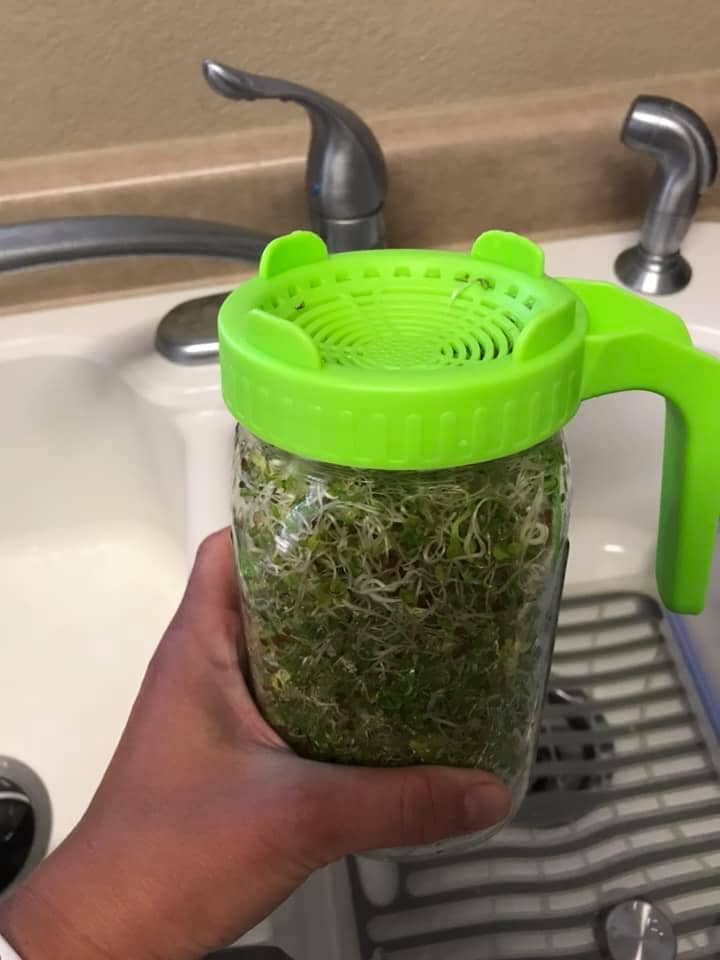
Growing sprouts is easier than I thought, and likely easier than you think! Sprouts require nothing but water and a place to grow, I purchased these lids that attach to a mason jar. These lids come with a handle that helps with draining the sprouts which is especially important. This version also come with 6 lids so you can have a continuous supply of sprouts. My sprout of mix of choice has alfalfa, radish, broccoli and clover sprouts.
Sprouts are surprisingly easy to grow and I want to point out that they only take 5 days. Minimal effort is required daily and the payoff is well worth it. Use sprouts to complete sandwiches, top soups, or add to salads.
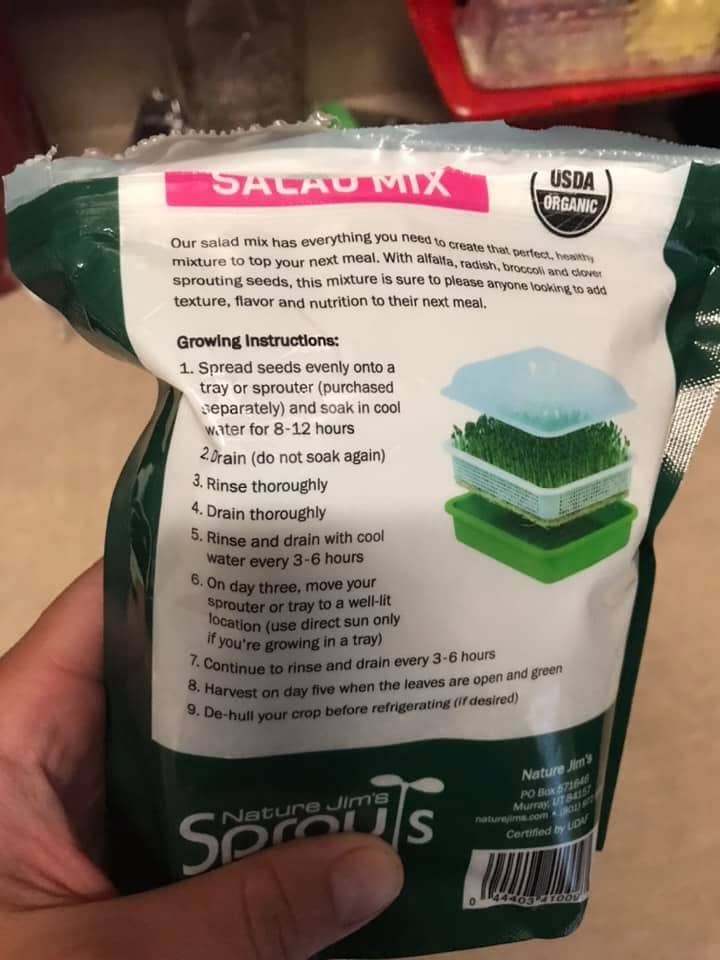
Growing Instructions For Growing Sprouts Using A Sprouting Lid
- The amount of sprouts you want to grow is up to you – I recommend starting with 1 tablespoon and seeing how much this makes and then adjusting from there – if you find you have too many sprouts, use less mix, if you want more sprouts, use more mix
- Wash sprouts by putting them in the jar, add water, and the lid then drain – I repeated 3 times. After the final rinse, add water and replace the lid. Let sit for 8-12 hours.
- Drain water and rinse then drain
- Every 3-6 hours you will need to rinse & drain
- On day 3 – move the jar to a well lit location (direct sunlight only if you are using a tray)
- Continue rinsing and draining every 3-6 hours
- Day 5 – harvest when the leaves are open and green
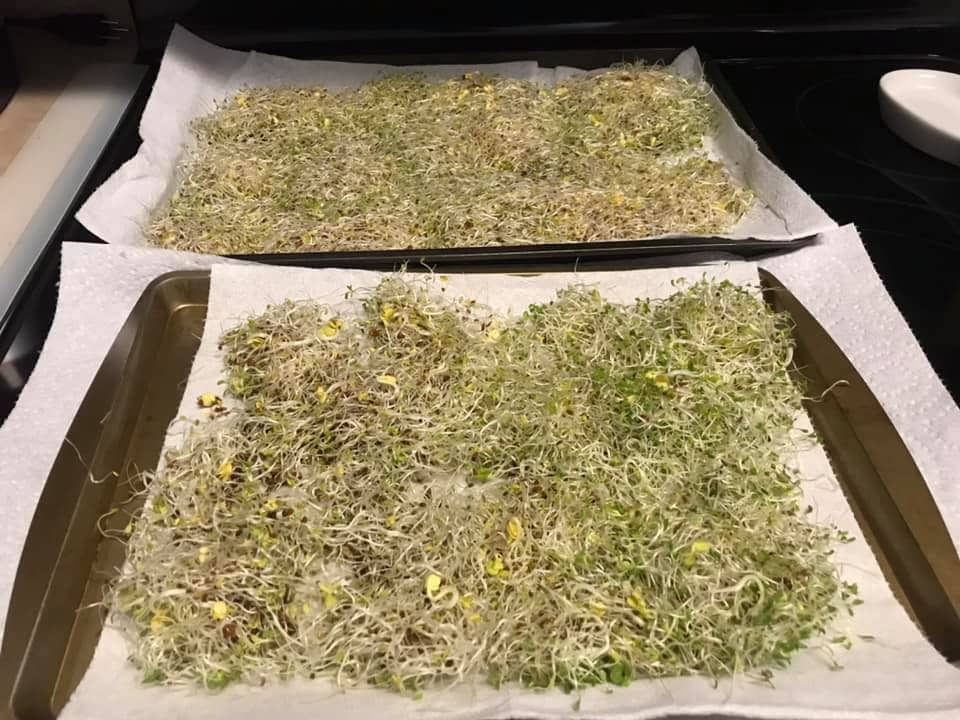
- I placed my sprouts on paper towel and removed as much moisture possible before placing in a bag in the crisper drawer
That’s it – after 5 days – you’ll have a large number of sprouts to enjoy over the next few days.
Fast Facts About Angie’s Garden
- Plot size: 10′ x 16′
- 30 plots total in the community garden
- All plots are in a gated area
- Tools, wheelbarrows, gloves, etc. are all located in a shed at the garden
- Water and hoses are also included on site
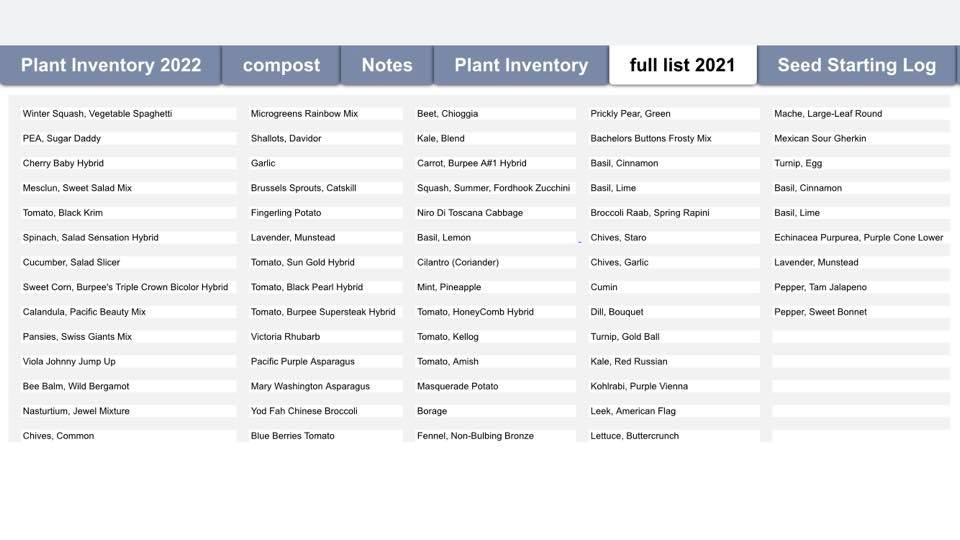
- 65 different vegetables were planted in this plot – included my 2 Mr. Stacky’s – these hold 20 plants each
Catch up on all of Angie’s garden updates by clicking here. I’ve got to get back to the garden – the work never ends!
Follow Me On Social Media To Know When The Next Post Is Live!
Following me on social sites is the easiest & fastest way to not miss a post!