
Zone 5b Garden Update For The Month Of May 2021
This month I thought to myself what the kale is going on in the garden. Obviously there is a lot happening as my first gardening season takes off! Prepping to build a scarecrow, seedling growth, a Pinterest fail and learning about interplanting.
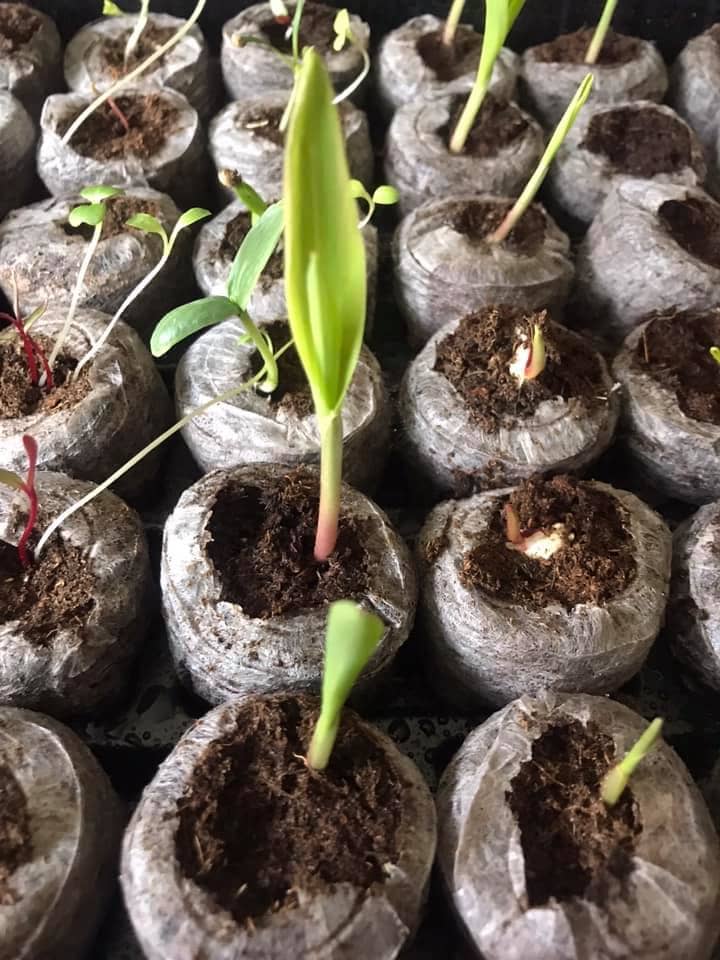
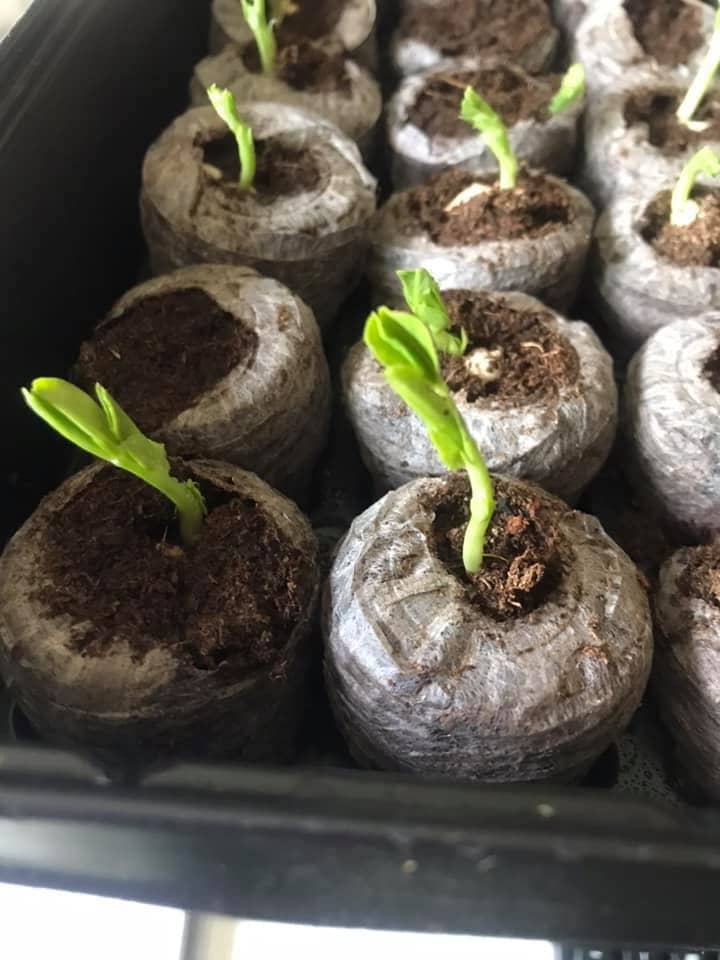
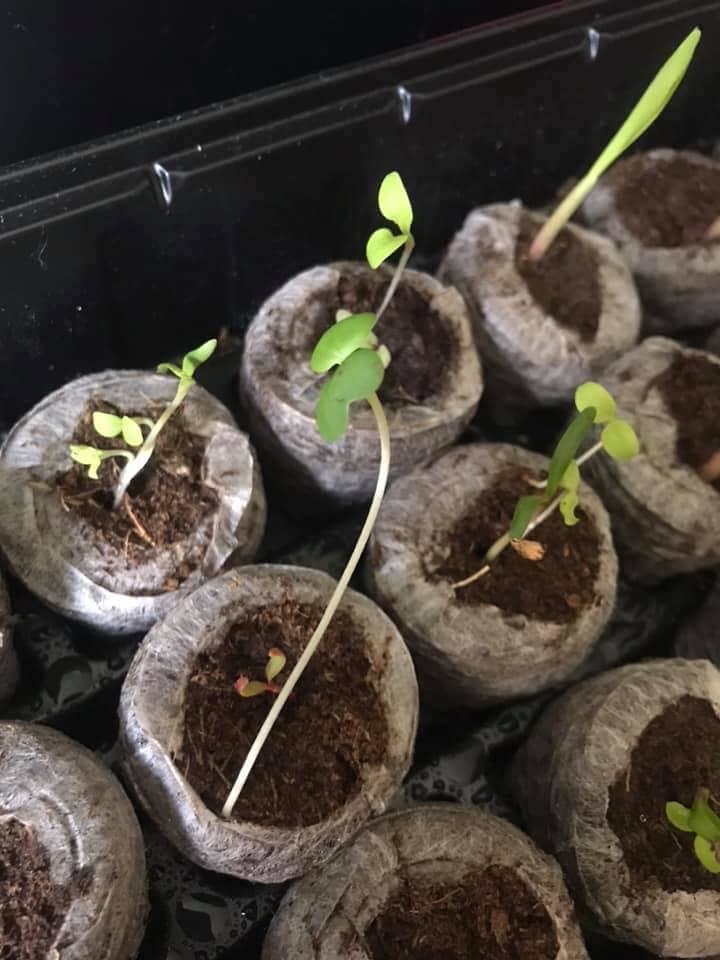
Damage Control For My Seedling
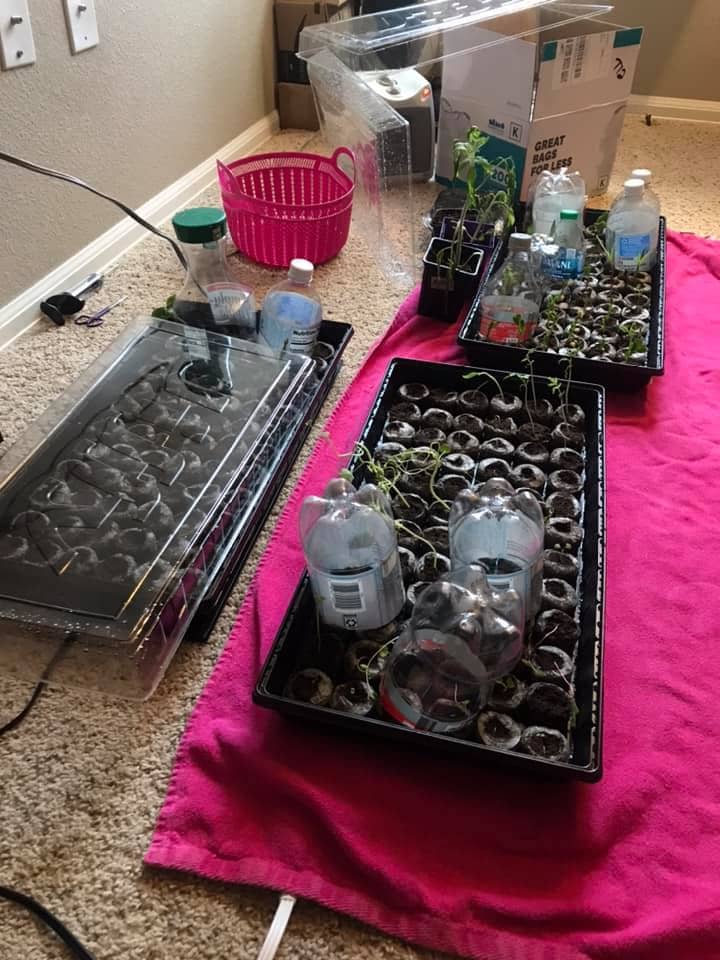
During May, I kept a very close eye on seed starters and seedling growth. Waiting is the hardest part of these seedlings! I was lucky enough to score a used heating mat which significantly increased the growth rate of my seeds. Every week I looked at my seeds and re-started seeds that hadn’t sprouted yet. My “in-ground” goal was May 15th – which is after Mothers day and is typically after the last frost of the season.
Although putting in extra work is time-consuming, I enjoyed knowing that putting in work now of re-starting seeds meant that I wouldn’t have to re-start seeds in the garden. The total number of starters I had increased from 150 to 228 over the month. Of course, different seeds need to be started at different times, so I started seeds weekly.
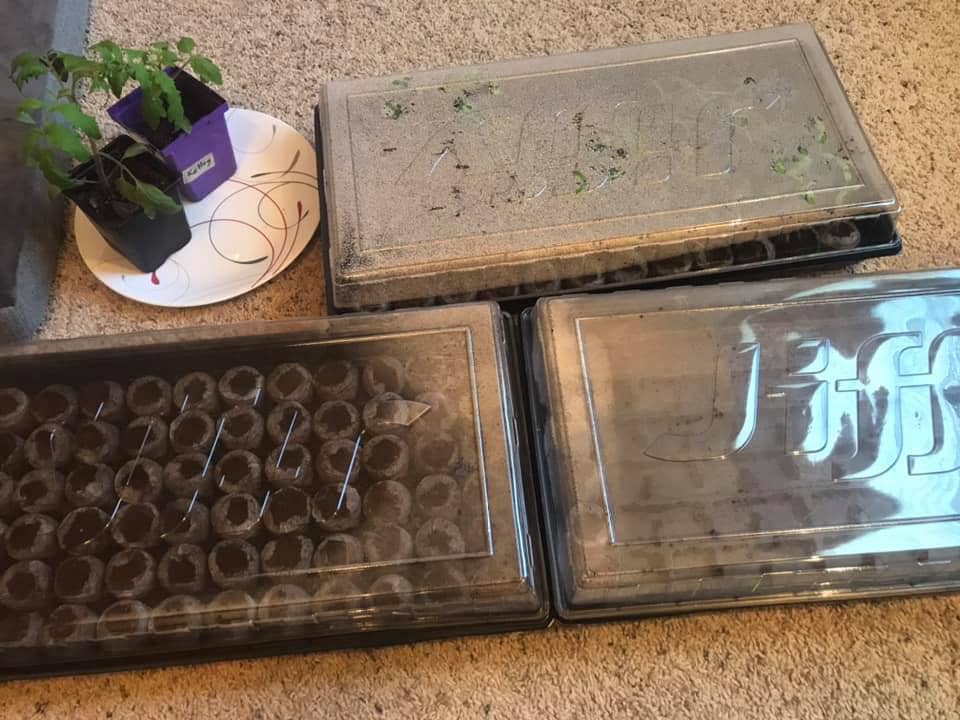
Pinterest Fail For Storing Seeds
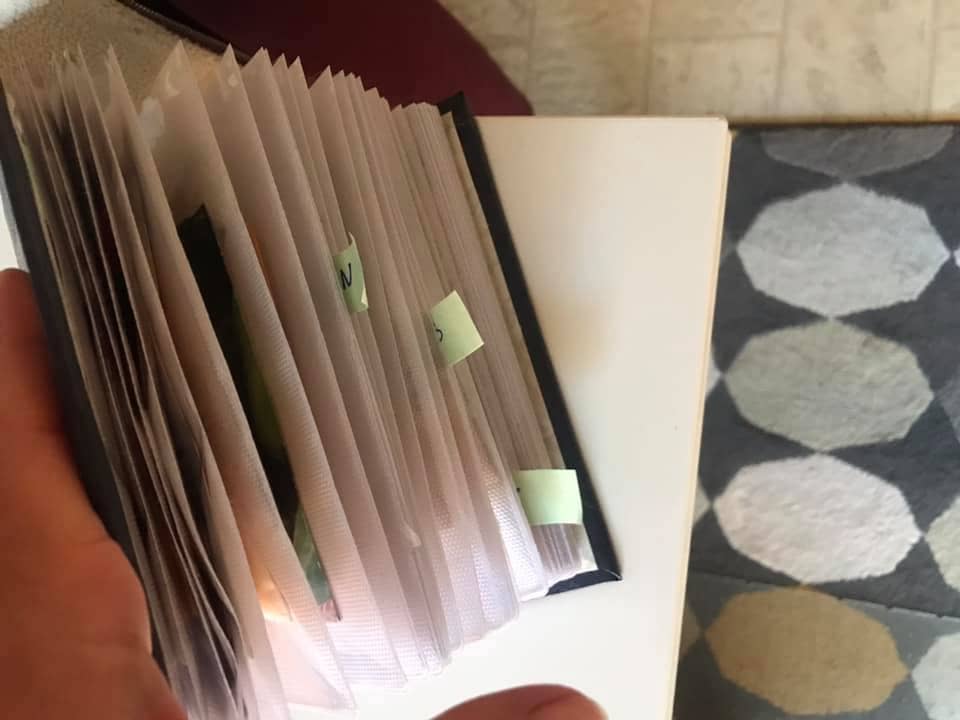
Throughout the month I realized I needed a way to store my seeds and keep organized. I turned to Pinterest for inspiration. The pin I found said to use a photo album and store the seeds in the photo slots. As much as I wanted this to work, it simply didn’t. You can see below that the album was very expanded – I couldn’t close it! As I looked at this overly stuffed album, I knew I needed a solution.
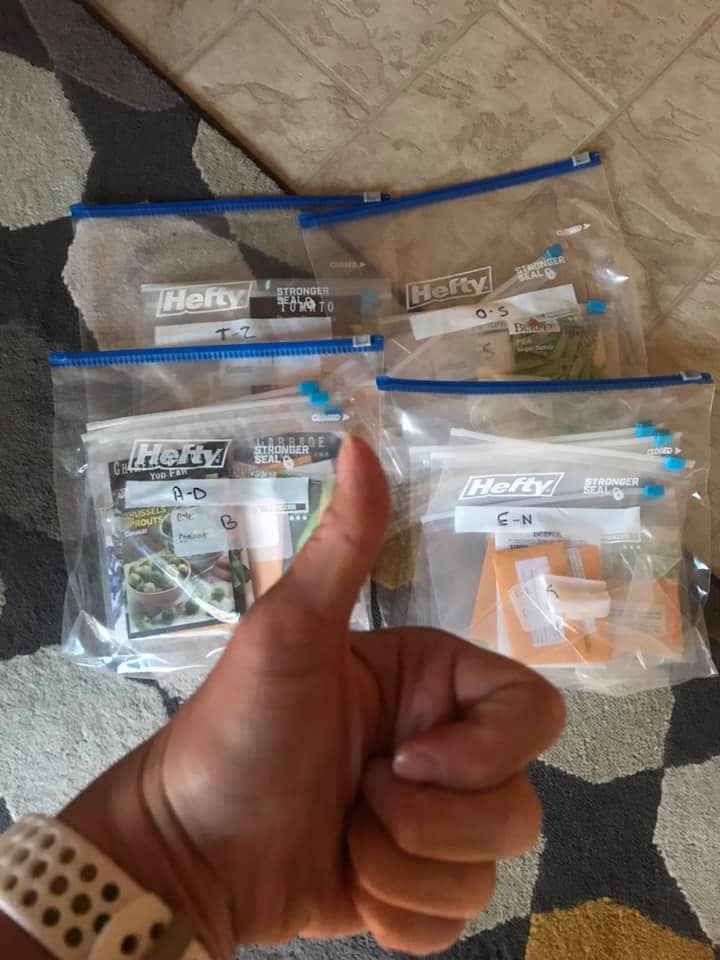
Although I wasn’t sure if my idea would work, I decided to use bags to store my seeds. I started by labeling 52 zip top quart bags A-Z. Then I decided the best way to “split” the alphabet and wrote letters on gallon zip lock bags. In order to ensure I wouldn’t over stuff, I decided to split the alphabet – A-D, E-H, O-S & T-Z.
Angie’s Plan For Organizing Seeds
Due to wanting to be alphabetical, I had to make some decisions on where certain seeds should fall. For example, watermelon – should it be under W for watermelon or M for melon?
Since I decided watermelon would fall under M for melon, I turned to my handy excel seed library to note this information. In fact, my seed library is linked to my garden plot planning worksheet. Keeping all my garden information in one excel workbook helps keep me organized.
Grow Bags & Hardening Off Seedling
Surprisingly, I bought too many seeds and don’t have enough room for them all in my plot! I headed to Amazon and found some amazing 5 gallon grow bags. To be sure I use these grow bags I decided to plant lavender & basil in 2 of the bags. It’s important to realize that fabric bags need to be watered almost daily, as they dry out quickly. Especially in a very open garden space – the wind dries the bags quickly. As May 15th was fast approaching, I had to start thinking about getting my plants in the ground.
Hardening off plants may not sound fun, but it’s an important step in getting your seedlings ready for the real world in the garden. To harden off plants, simply place them outside a few hours every day. To explain, this takes about 2 weeks, and this article does a great job of reviewing exactly how to harden off plants.
Ready To Plant My Seedlings
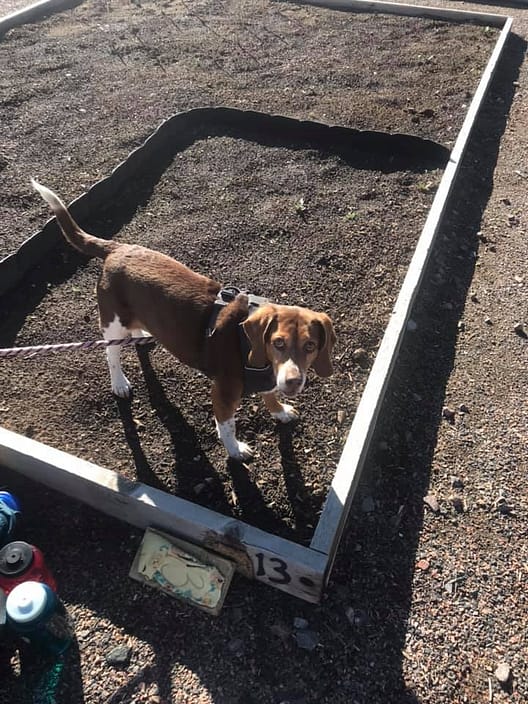
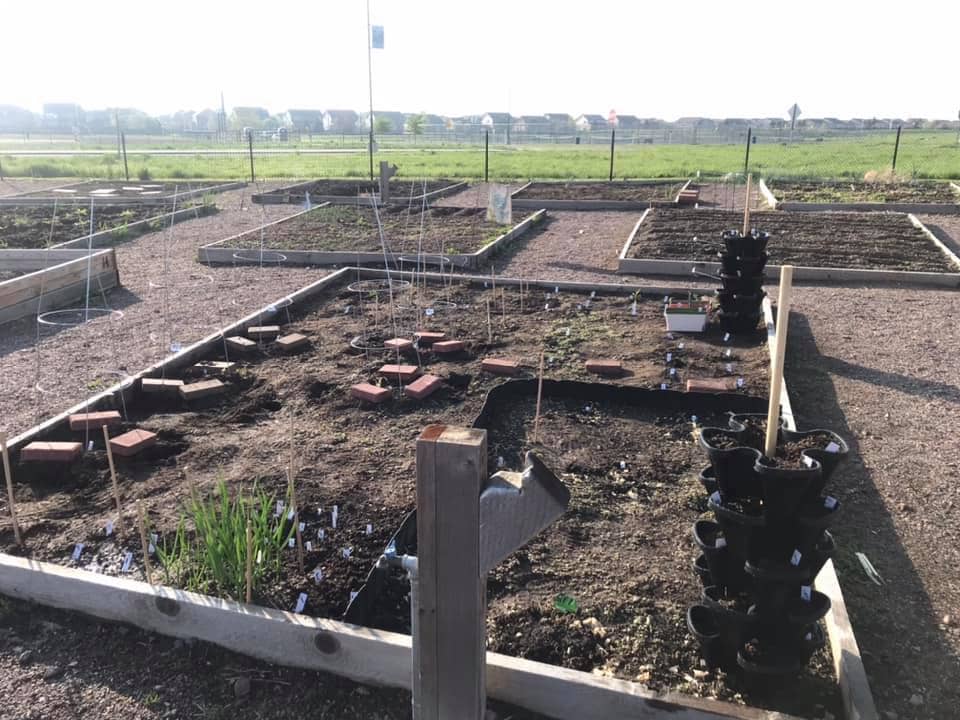
As much as I have loved starting my seeds, it is time to get these out of my house and into the ground! After hardening off my plants for 2 weeks, I was ready to plant. I got my plot ready by weeding, tilling, and adding compost. My next step is to plant my seedlings into the ground. Adding edging to my plot was a decision I made to keep my perennial bed separate from the rest of my plot.
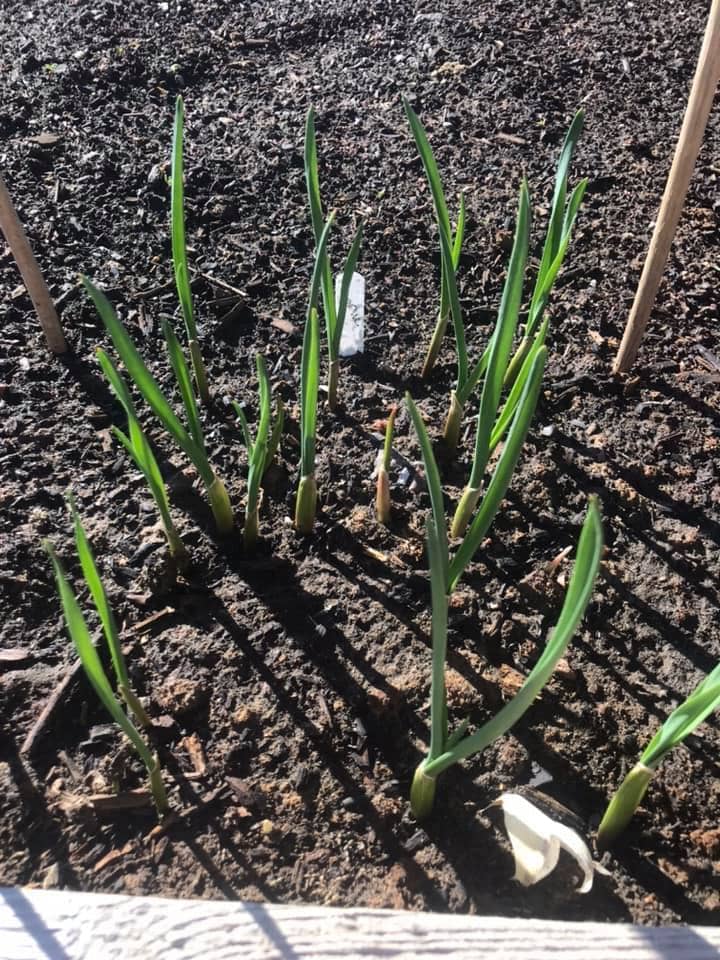
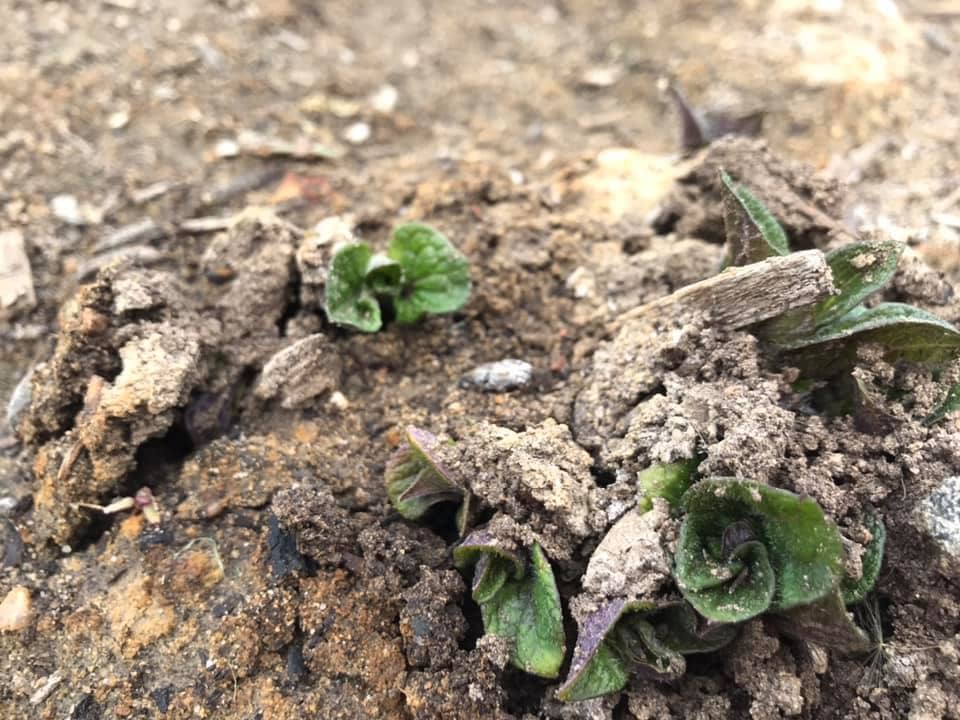
Garlic & Potato Growth & The Completed Plot
Not only did I plant my seedlings but also I planted garlic & potatoes in April. As a result, they are already growing and look great. I’ve also included an image of how my plot looked when I completed planting my seedlings in the ground. For the most part, my plot is ready for the 2021 garden season!
Scarecrow And Garden Supplies
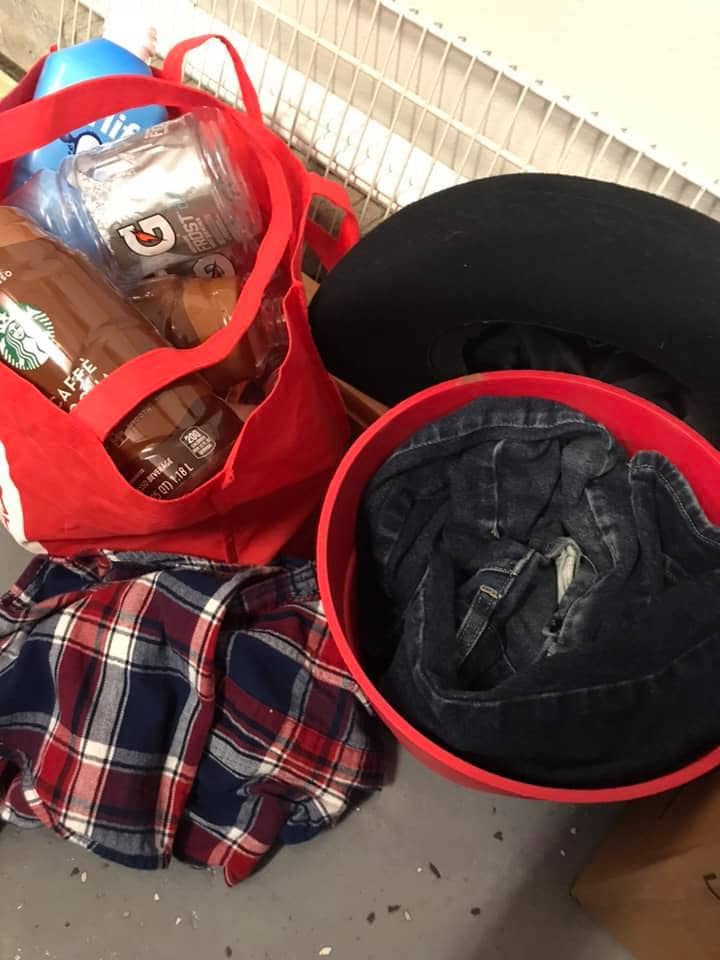
Equally important to planting my seedlings is keeping them safe in the garden. To keep my garden safe from animals, I’ve decided to add a scarecrow to my plot. I will keep the blog up to date with the progress of the scarecrow build. For now, I have gathered recyclables for stuffing, and clothes from goodwill.
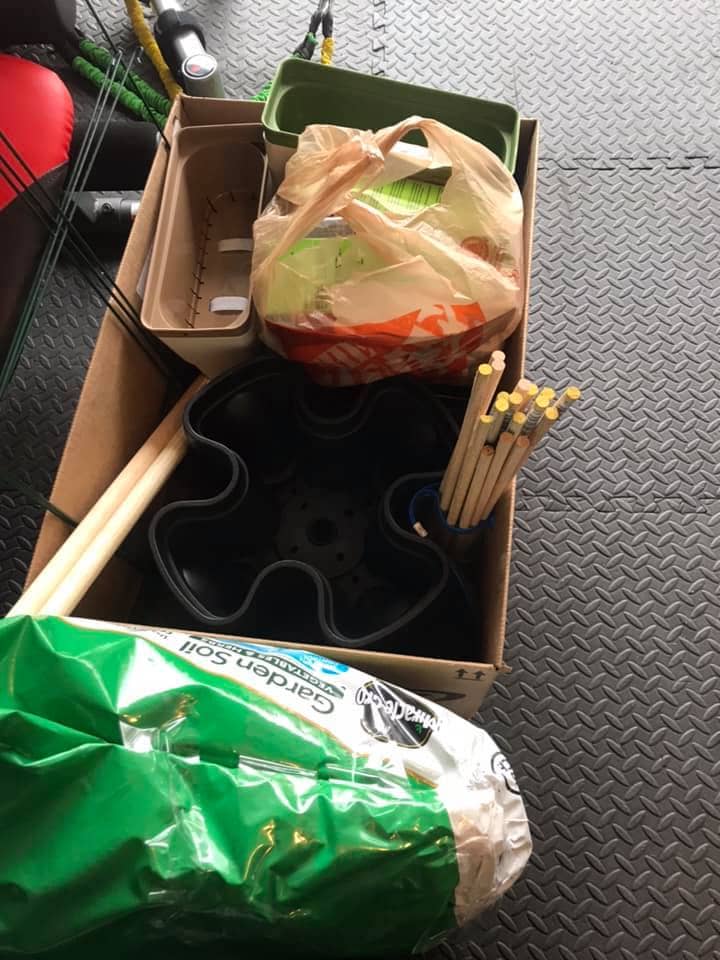
In addition to scarecrow supplies, I also bought some basic garden supplies – dowel rods, planters, seeds, harvest basket, and Mr. Stacky. These supplies are crucial to having a successful season.

Follow Me On Social Media To Know When The Next Post Is Live!
Following me on social sites is the easiest & fastest way to not miss a post!